
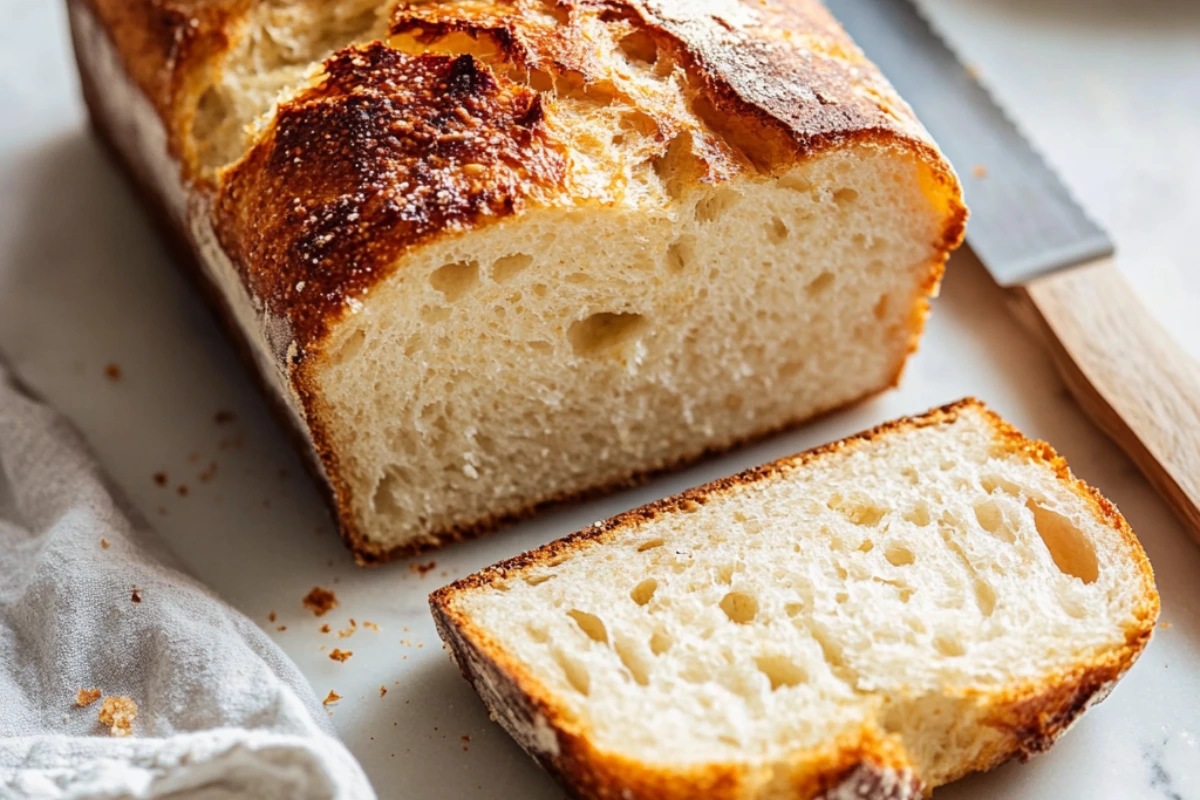
No-Oven Stovetop Bread is the perfect solution, If you love the smell and taste of fresh homemade bread but don’t have an oven. This simple and foolproof recipe allows you to bake a soft, fluffy loaf right on your stovetop, giving you that homemade bread experience without an oven. Whether you’re in a small kitchen, living in a dorm, or simply avoiding the heat of an oven, this stovetop bread will satisfy your cravings.
Why You’ll Love No-Oven Stovetop Bread
✅ No Oven Needed – Perfect for those without an oven or looking for an alternative way to bake.
✅ Soft & Fluffy – Light, airy, and perfect for sandwiches, spreads, or dipping.
✅ Budget-Friendly – Made with simple, affordable pantry ingredients.
✅ Beginner-Friendly – No complicated techniques, just easy steps for perfect results!
✅ Versatile – Use it for toast, sandwiches, side dishes, or dipping into soups.
Ingredients for No-Oven Stovetop Bread
✔️ 2 ½ cups all-purpose flour – Creates a light, fluffy texture.
✔️ 1 ½ tsp active dry yeast – Helps the bread rise perfectly.
✔️ 1 tsp salt – Enhances the overall flavor.
✔️ 1 tbsp sugar – Adds a hint of sweetness and helps activate the yeast.
✔️ ¾ cup warm water – Necessary to activate the yeast and hydrate the dough.
✔️ 2 tbsp vegetable oil – Keeps the bread soft and moist.
✔️ Butter (for greasing) – Helps prevent sticking and adds a rich flavor.
Step-by-Step Instructions for No-Oven Stovetop Bread
Step 1: Activate the Yeast
1️⃣ In a small bowl, combine warm water (around 110°F or 45°C), sugar, and yeast.
2️⃣ Let it sit for 5-10 minutes until it turns foamy. This indicates the yeast is activated and ready to work its magic.
💡 Pro Tip: If the yeast doesn’t foam, it may be expired or the water was too hot/cold. Start again with fresh yeast.
Step 2: Prepare the Dough
1️⃣ In a large mixing bowl, whisk together flour and salt.
2️⃣ Pour in the yeast mixture and add vegetable oil.
3️⃣ Mix everything together with a wooden spoon until a rough dough forms.
💡 Pro Tip: The dough should be slightly sticky but manageable. If too dry, add 1 tbsp of warm water at a time until the desired consistency is reached.
Step 3: Knead the Dough
1️⃣ Transfer the dough onto a clean, floured surface.
2️⃣ Knead for 8-10 minutes until the dough becomes smooth and elastic.
💡 Why Kneading Matters: Kneading develops gluten, which gives bread its soft, stretchy texture. If the dough tears easily, knead a bit longer.
Step 4: First Rise
1️⃣ Shape the dough into a ball and place it in a greased bowl.
2️⃣ Cover with a damp cloth and let it rise for 1 hour or until doubled in size.
💡 Pro Tip: If your kitchen is cold, place the bowl near a warm oven or inside a turned-off microwave with a cup of warm water for a quicker rise.
Step 5: Shape the Bread & Second Rise
1️⃣ Punch down the dough to release air bubbles.
2️⃣ Shape it into a round loaf or divide it into small portions for flatbreads.
3️⃣ Place in a greased stovetop pan and cover. Let it rise for another 30 minutes.
Step 6: Cook the Bread on the Stovetop
1️⃣ Heat a non-stick or cast-iron pan on low heat for 5 minutes.
2️⃣ Place the dough in the pan, cover with a lid, and cook for 20 minutes on low heat.
3️⃣ Carefully flip the bread, cover again, and cook for another 15 minutes.
4️⃣ Check for doneness by tapping the bottom—it should sound hollow when ready!
💡 Pro Tip: If the bread is browning too fast but still doughy inside, reduce heat and cook longer.
Step 7: Serve & Enjoy
1️⃣ Remove the bread from the pan and let it cool on a rack.
2️⃣ Slice and enjoy warm with butter, jam, or honey!
Pro Tips for the Best No-Oven Stovetop Bread
✔️ Use a Heavy-Bottomed Pan – Cast iron works best for even heat distribution.
✔️ Keep Heat Low – Too high will burn the bottom before the inside cooks.
✔️ Cover While Cooking – Helps trap steam and mimics an oven environment.
✔️ Experiment with Flavors – Add herbs, cheese, or garlic for variety!
What to Serve with No-Oven Stovetop Bread
🥣 Hearty Soups – Perfect for dipping into creamy soups.
🍯 Honey & Butter – Classic spread for a simple but delicious treat.
🥗 Fresh Salads – Pairs well with Mediterranean-style salads.
For more pairings, check out Best Dishes to Serve with Bread.
Health Benefits of Homemade Bread
🍞 No Preservatives – Fresh and free from additives.
🥖 Rich in Carbs – Provides energy and fiber.
🥑 Customizable – Adjust salt, sugar, and flour to fit your diet.
Check out The Health Benefits of Whole Wheat vs. White Bread for more insights.
FAQs About No-Oven Stovetop Bread
🔹 Can I use whole wheat flour?
Yes! Substitute half of the all-purpose flour with whole wheat for added fiber.
🔹 How do I store stovetop bread?
Wrap in a clean towel and keep at room temperature for up to 3 days.
🔹 Can I freeze it?
Yes! Wrap tightly and freeze for up to 1 month.
🔹 How do I make it gluten-free?
Use a 1:1 gluten-free flour blend for best results.
🔹 Can I add toppings?
Absolutely! Try sesame seeds, cheese, or garlic butter before cooking.
Other Easy Bread Recipes to Try
🍞 Simple No-Knead Bread – Perfect for beginners!
🧄 Garlic Butter Rolls – Soft, buttery, and flavorful.
🥖 Homemade Pita Bread – Light and fluffy with the perfect pocket.
Explore more recipes in Our Complete Bread Collection!
Final Thoughts
No-Oven Stovetop Bread is the perfect way to enjoy fresh, homemade bread without an oven. It’s easy, beginner-friendly, and delicious. Whether you serve it with soups, salads, or just butter and honey, this stovetop bread will become a staple in your kitchen.
🔥 Would you try this stovetop bread? Drop a 🍞🔥 in the comments!
📌 Save this recipe & share it with a friend who loves homemade bread!
🚀 #HomemadeBread #NoOvenNeeded #EasyBaking #SoftAndFluffy